This post contains affiliate links, which means I may earn a small commission if you purchase through my links — at no extra cost to you. Thank you for supporting my blog!
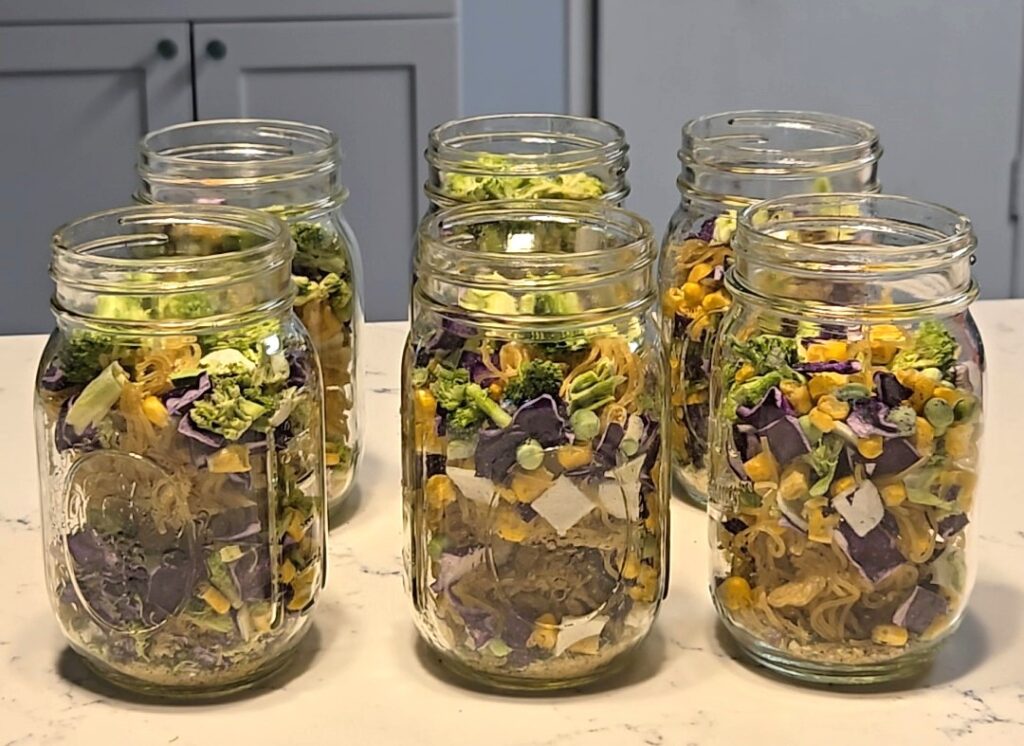
If you love the convenience of instant noodles but want to control the ingredients, these homemade noodle cups are the perfect pantry staple. The best part? You don’t need a water bath or pressure canner to make them! With just a few simple ingredients and a vacuum sealer (optional but recommended), you’ll have ready-to-go meals that are shelf-stable and perfect for busy days.
Why I Love These DIY Noodle Cups
These are perfect for canning beginners because they’re more like “cheat canning.” You’re not actually heat-processing the jars—you’re simply layering dry ingredients and sealing them up for freshness. This also makes them a fantastic meal prep option.
Plus, you can customize each jar to fit your tastes or dietary needs, and they store beautifully in your pantry until you’re ready to add hot water and enjoy!
What You’ll Need
Ingredients
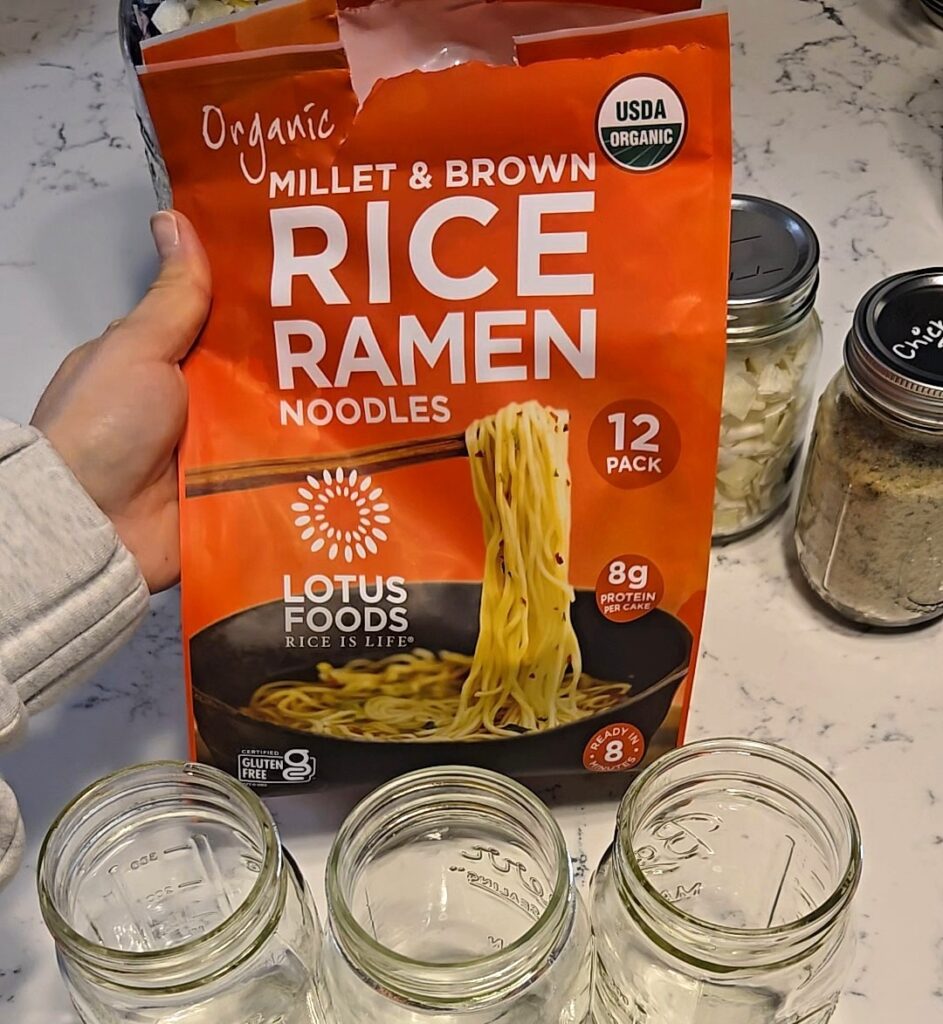
- Ramen noodles – I used Lotus Foods Organic Brown Rice & Millet Ramen from Costco. They come in individual squares and I broke them up to fit one square in each jar. You can also find them on Amazon.
- Homemade chicken bouillon – About 1/2 tablespoon per jar (find my recipe here)
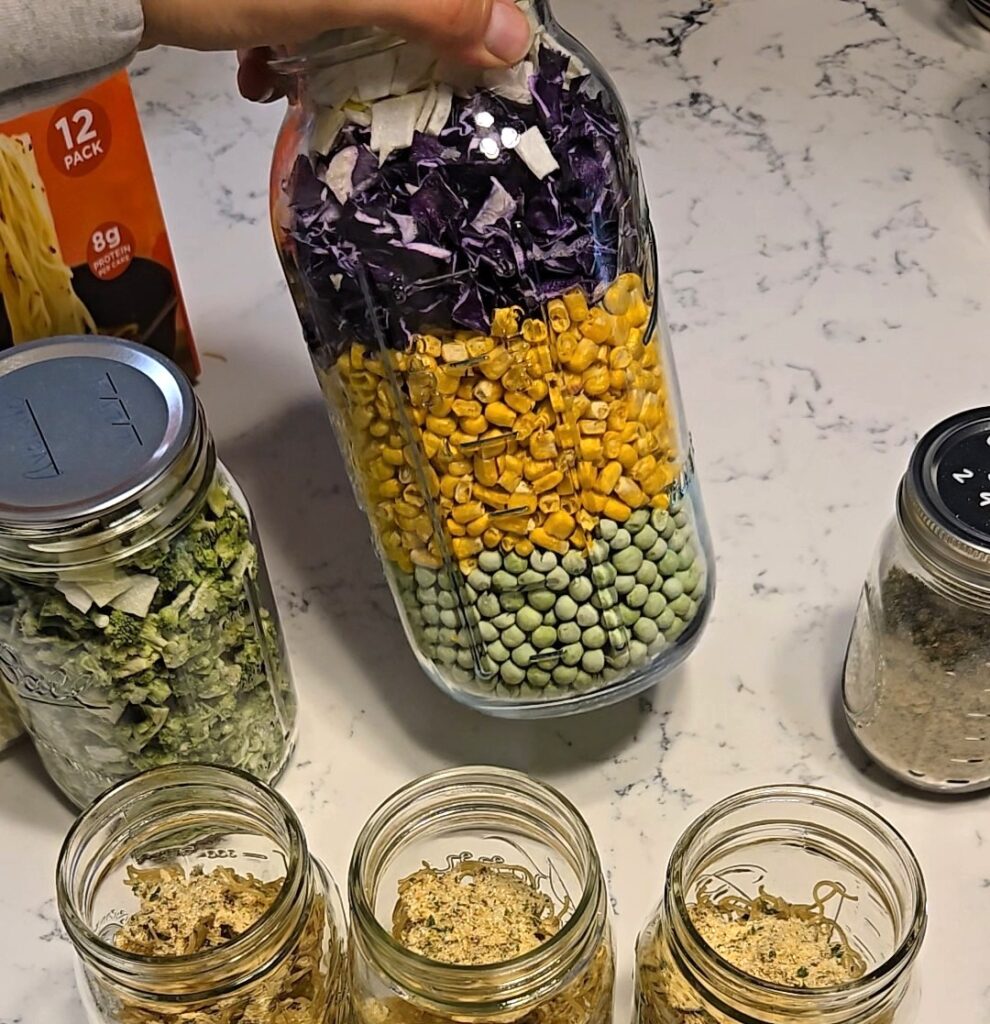
- Freeze-dried vegetables – I used onions, broccoli, cabbage, peas, and corn—feel free to use whatever you have on hand. If you don’t have a freeze dryer dehydrated veggies will work just fine.
- Optional protein – Freeze-dried cooked chicken or another protein can also be added for a heartier meal. I wouldn’t suggest dehydrating protein as the texture may not be great when reconstituting.
Supplies
- Pint-sized mason jars with lids (or similar size) clean and completely dry.
- Jar vacuum sealer(optional but helps with long-term storage) The one I use is linked here.
Instructions
Step 1: Prep the Noodles
Break the ramen squares into smaller pieces so they fit into your jars. One square fits nicely into a pint jar when broken up.
Step 2: Add Seasoning
Spoon about 1/2 tablespoon of homemade chicken bouillon into each jar. This is your flavor base—feel free to adjust to taste.
Step 3: Layer in Veggies
Add a handful of freeze-dried vegetables to each jar. I used onions, broccoli, cabbage, peas, and corn, but you can mix and match based on what you like or have available. If you don’t have a freeze dryer, dehydrated vegetables work just as well.
Step 4: Optional Protein
Want to make it a complete meal? Add some freeze-dried cooked chicken or your favorite protein. Skip this step if you don’t have a freeze dryer.
Step 5: Seal for Freshness
To maximize shelf life, vacuum seal each jar using a vacuum sealer. If you don’t have one, you can still make these cups—just be aware they won’t store quite as long.
How to Use Your Homemade Noodle Cups
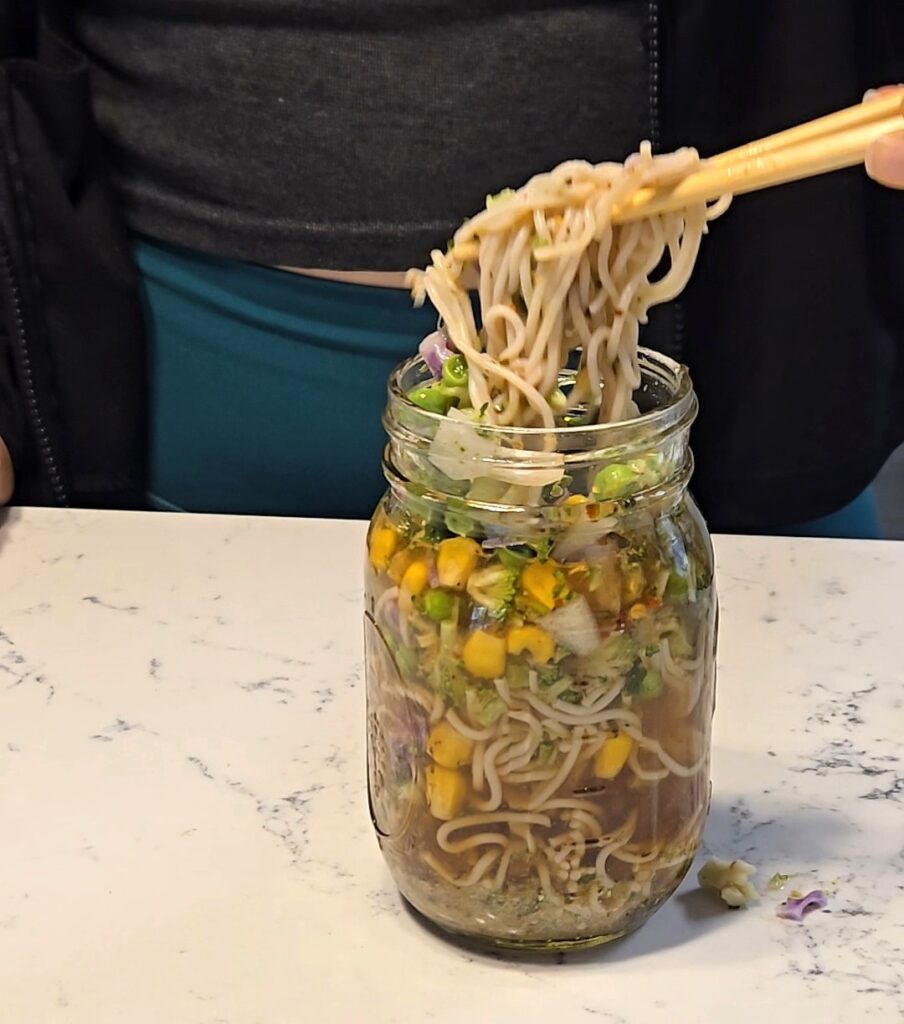
When you’re ready to eat, simply pour boiling water into the jar until the noodles and veggies are covered. Stir, cover the jar, and let it sit for about 5-7 minutes until everything softens and the flavors blend. Add in any additional ingredients like soy sauce, hot sauce, or additional protein.
Why Make Your Own Noodle Cups?
- Control the ingredients – No mystery flavor packets here!
- Customize to your taste – Spice it up, go veggie-heavy, or add extra protein.
- Perfect for busy days – Just add water and you’re ready to eat.
- Great for food storage – These store well in a cool, dry place, especially if vacuum-sealed.
Final Tips
- Rotate through your noodle cups regularly to keep ingredients fresh.
- Play with flavors! Try beef bouillon or vegetarian broth instead of chicken.
- Pack a few for road trips or camping—they’re super portable.
Leave a Reply