One of my goals for this blog is to share easy recipes anyone can make at home with simple ingredients. We recently bought wooden utensils and I noticed they dulled quickly and started drying out. I know there are tons of wax products out there that you can buy but I decided to make my own.
The process is pretty simple with only three ingredients:
- mineral oil
- beeswax
- lemon oil
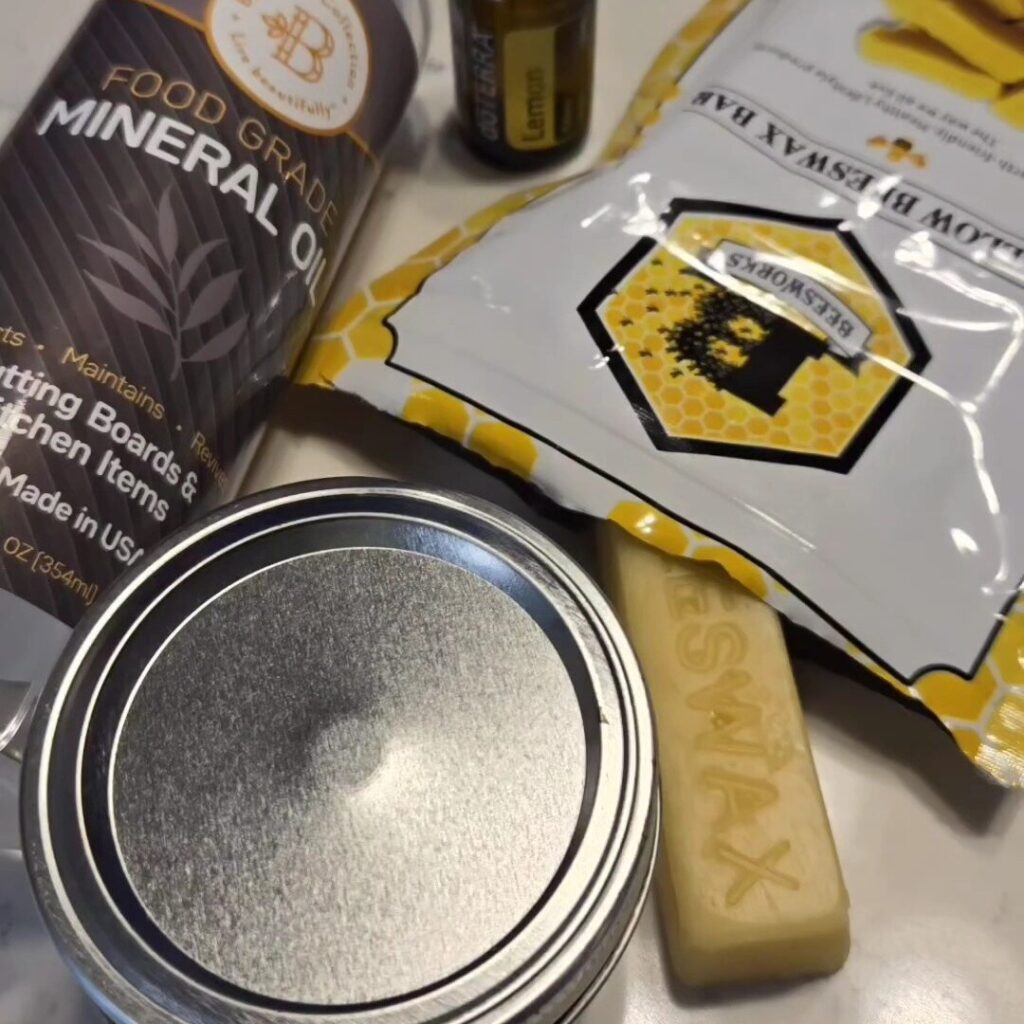
Why Mineral Oil?
- Non-toxic: Food-grade mineral oil is safe for use on surfaces that come into contact with food. It won’t impart any flavor or toxicity to the food being prepared.
- Stability: It doesn’t go rancid or spoil over time, unlike some natural oils.
- Hydration: Mineral oil penetrates the wood, hydrating and preventing it from drying out. This keeps the wood supple and extends the life of the cutting board.
- Protection: By creating a barrier, mineral oil helps protect the cutting board from absorbing liquids and food particles, which can lead to staining and odor retention.
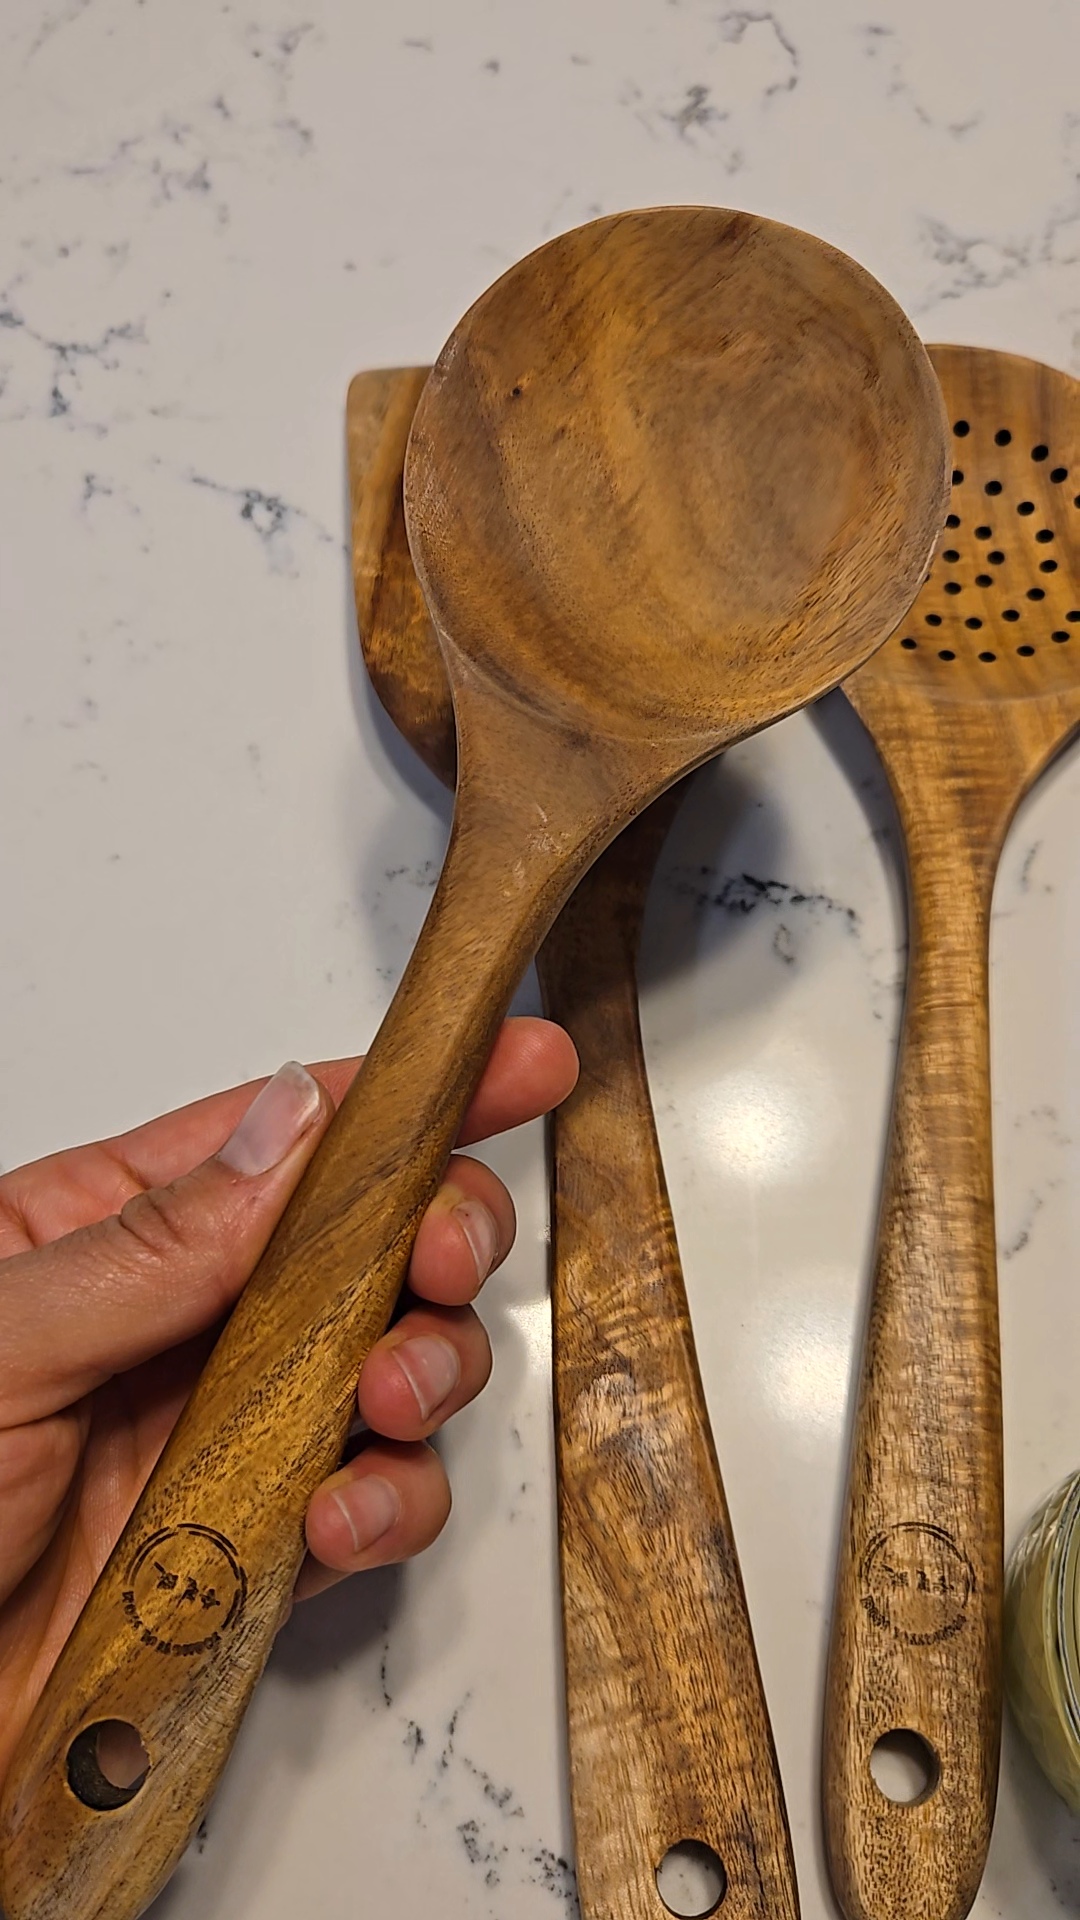
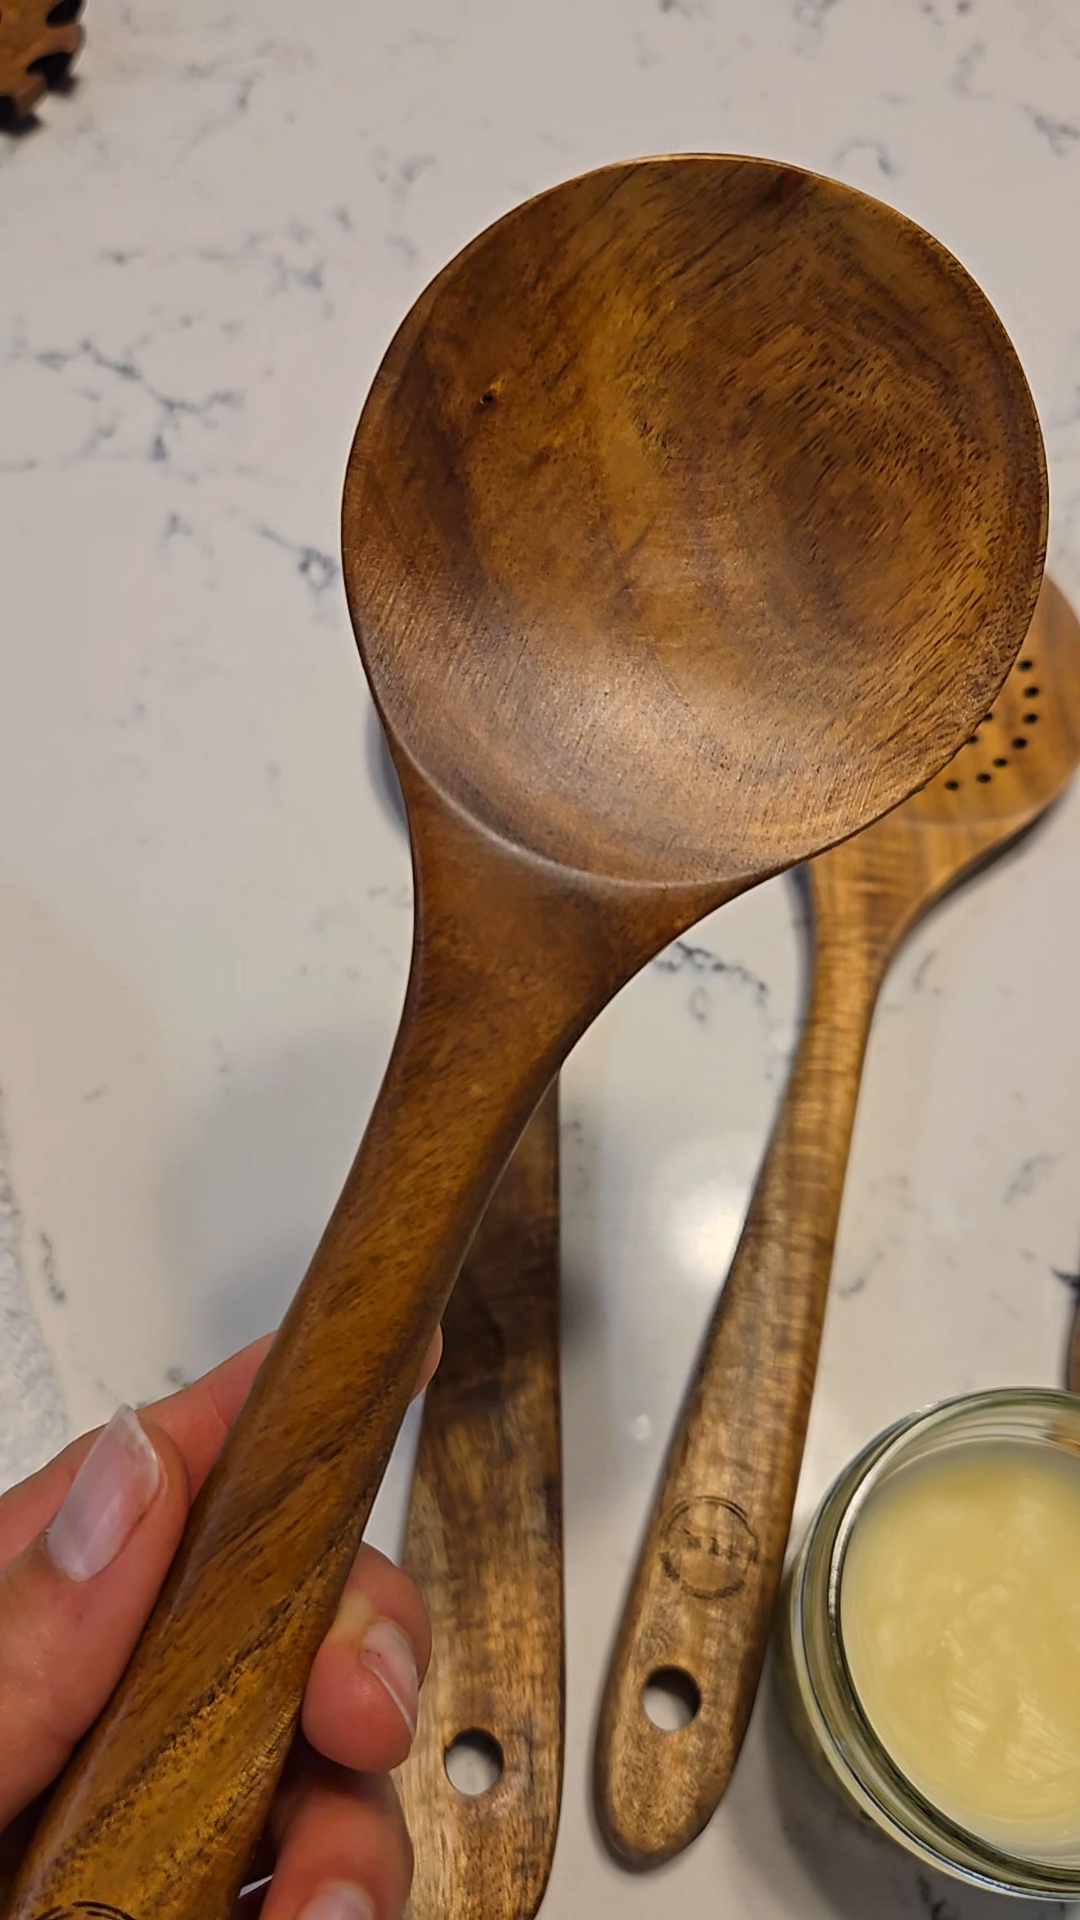
Combining beeswax with mineral oil helps to maintain the cutting board’s condition over time, requiring less frequent reapplication than using oil alone. Mineral oil penetrates the wood, hydrating and conditioning it, while beeswax remains on the surface, providing a durable, protective barrier. Also, beeswax has natural antibacterial properties, which can help keep the cutting board more sanitary by inhibiting the growth of bacteria.
Using lemon oil is optional but it’s my go to oil for anything involving cleaning for many reasons. Lemon oil is an AMAZING degreaser. It will remove ANYTHING! It also has antibacterial properties, which will help keep your cutting board bacteria free and it helps neutralize odors. As with the use of any oils that may be ingested be sure to research food grade oils. There are a ton of brands out there but not all of them are third-party tested, 100% pure, therapeutic grade, etc.
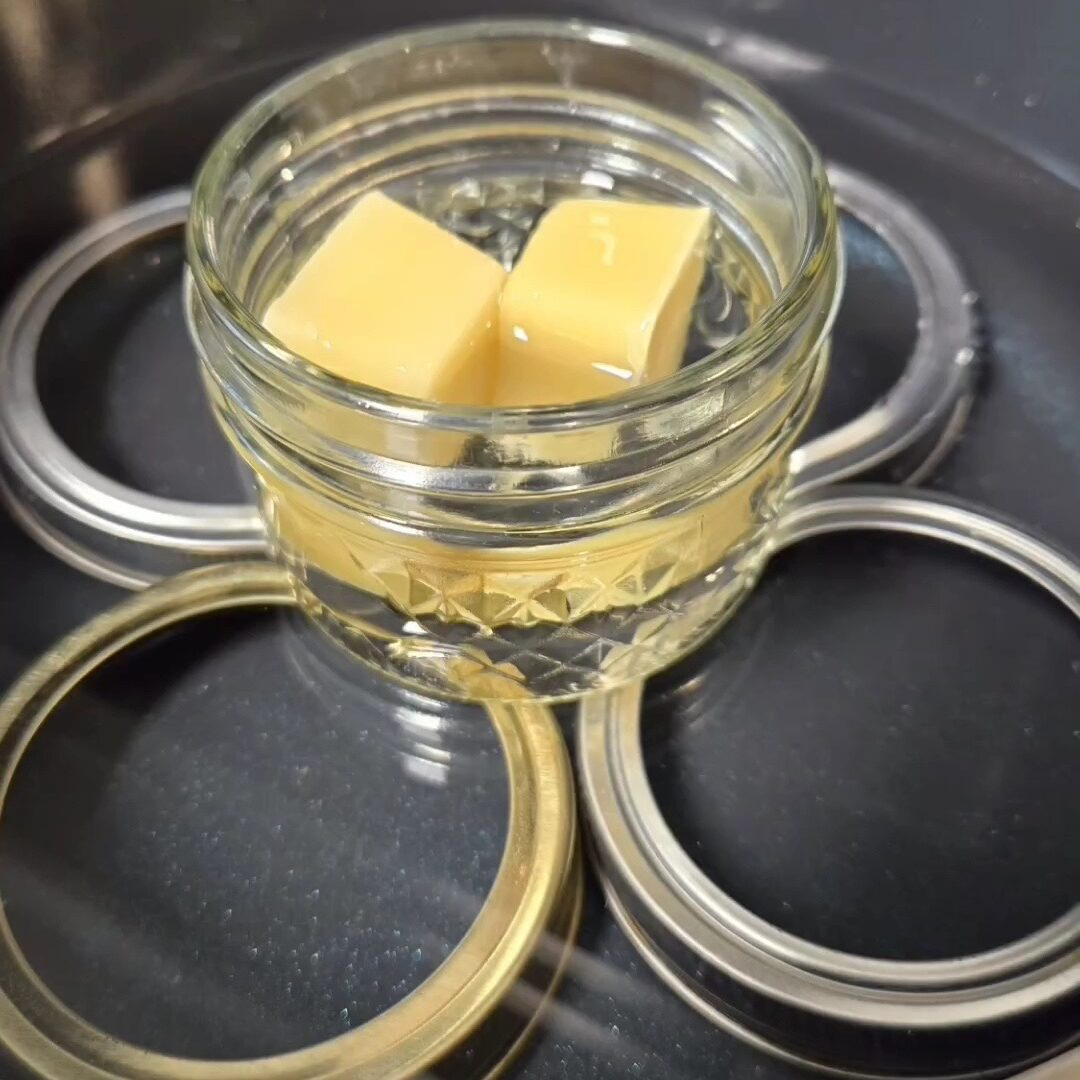
Below is the full recipe but I wanted to add a quick note about the “double boiler” I created for this recipe and have used many times since. Our kitchen is on the smaller side so I really have to watch how many gadgets, appliances, etc. I own. I also try to be conscious of my consumption and try to safely cut corners where I can. There are double boilers you can purchase which are essentially two pots that stack inside each other or a pot with a bowl that nests inside the pot. The purpose of these are to allow the ingredient in the top pot/bowl to melt as it’s heated up by the boiling water in the bottom bowl without burning the ingredient.
Creating a water bath essentially does the job. Line a pot with mason jar lids, place a mason jar on them, and fill the pot with a few inches of water. While this may not be your preferred method, it worked well for me. Tips for jars: I prefer the Ball brand mason jars versus the basic no-name brands because they are thicker and there’s less risk of them shattering at high temperatures. This also holds true when freezing the jars.
Homemade Wood Wax
1
4oz jar5
minutes10
minutesThe lemon oil in this recipe is optional but I highly suggest adding for the extra antibacterial and conditioning benefits.
Ingredients
1oz beeswax
2oz mineral oil
6-12 drops lemon oil
Directions
- Set up your double boiler or use the water bath method I explained above. Test your water level by placing the jar in the put
- If using a water bath put your beeswax and mineral oil in a clean 4oz jar. You may need to break up the beeswax to ensure it fits properly in the jar.
- Place jar in water bath and heat jar until beeswax is fully melted.
- Remove jar from water bath and mix in lemon oil. Let sit until wax cools and solidifies.
- To use, coat clean rag with wax and wipe down cutting board, wooden utensils, etc. Let sit so wax soaks in and then wipe off any access.
Recipe Video
Notes
- Store jar under your sink or with your cutting boards. The wax shouldn’t go rancid so you can double the recipe if you’d like. My 4oz jar lasts about 6 months.
